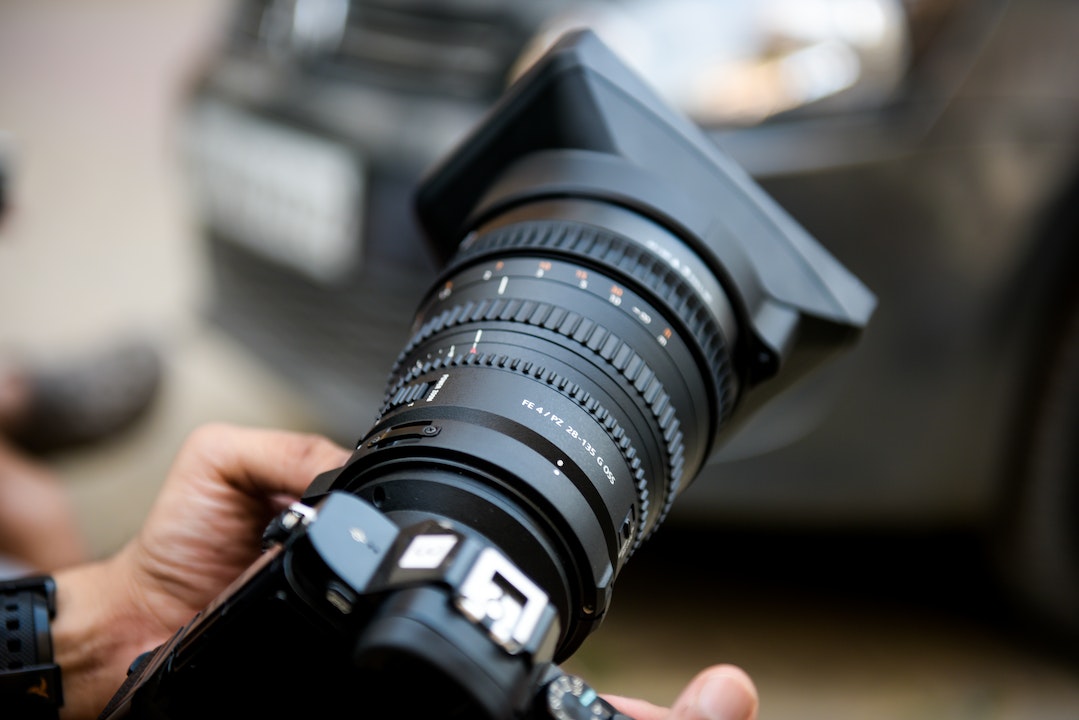
When you begin to explore your camera settings, you quickly find out that multiple settings are geared towards attracting the correct amount of light to your camera. ISO, for example, controls how sensitive your camera is to light in its external environment. A higher ISO value can make your image brighter. Shutter speed controls the amount of time the lens gets to absorb light, with higher shutter speeds making your image brighter. Aperture is the opening in your camera’s lens that controls the amount of light that goes in. A wider aperture lets more light in.
Of course, your camera settings are responsible for a lot more than just light, but, as you can see, light is very important. In fact, I believe that lighting is the most important part of photography. If you don’t believe me now, you will certainly believe me after a few weeks or months of practice. To understand lighting better, read about the different types of light and how to manipulate them.
Deciding factor
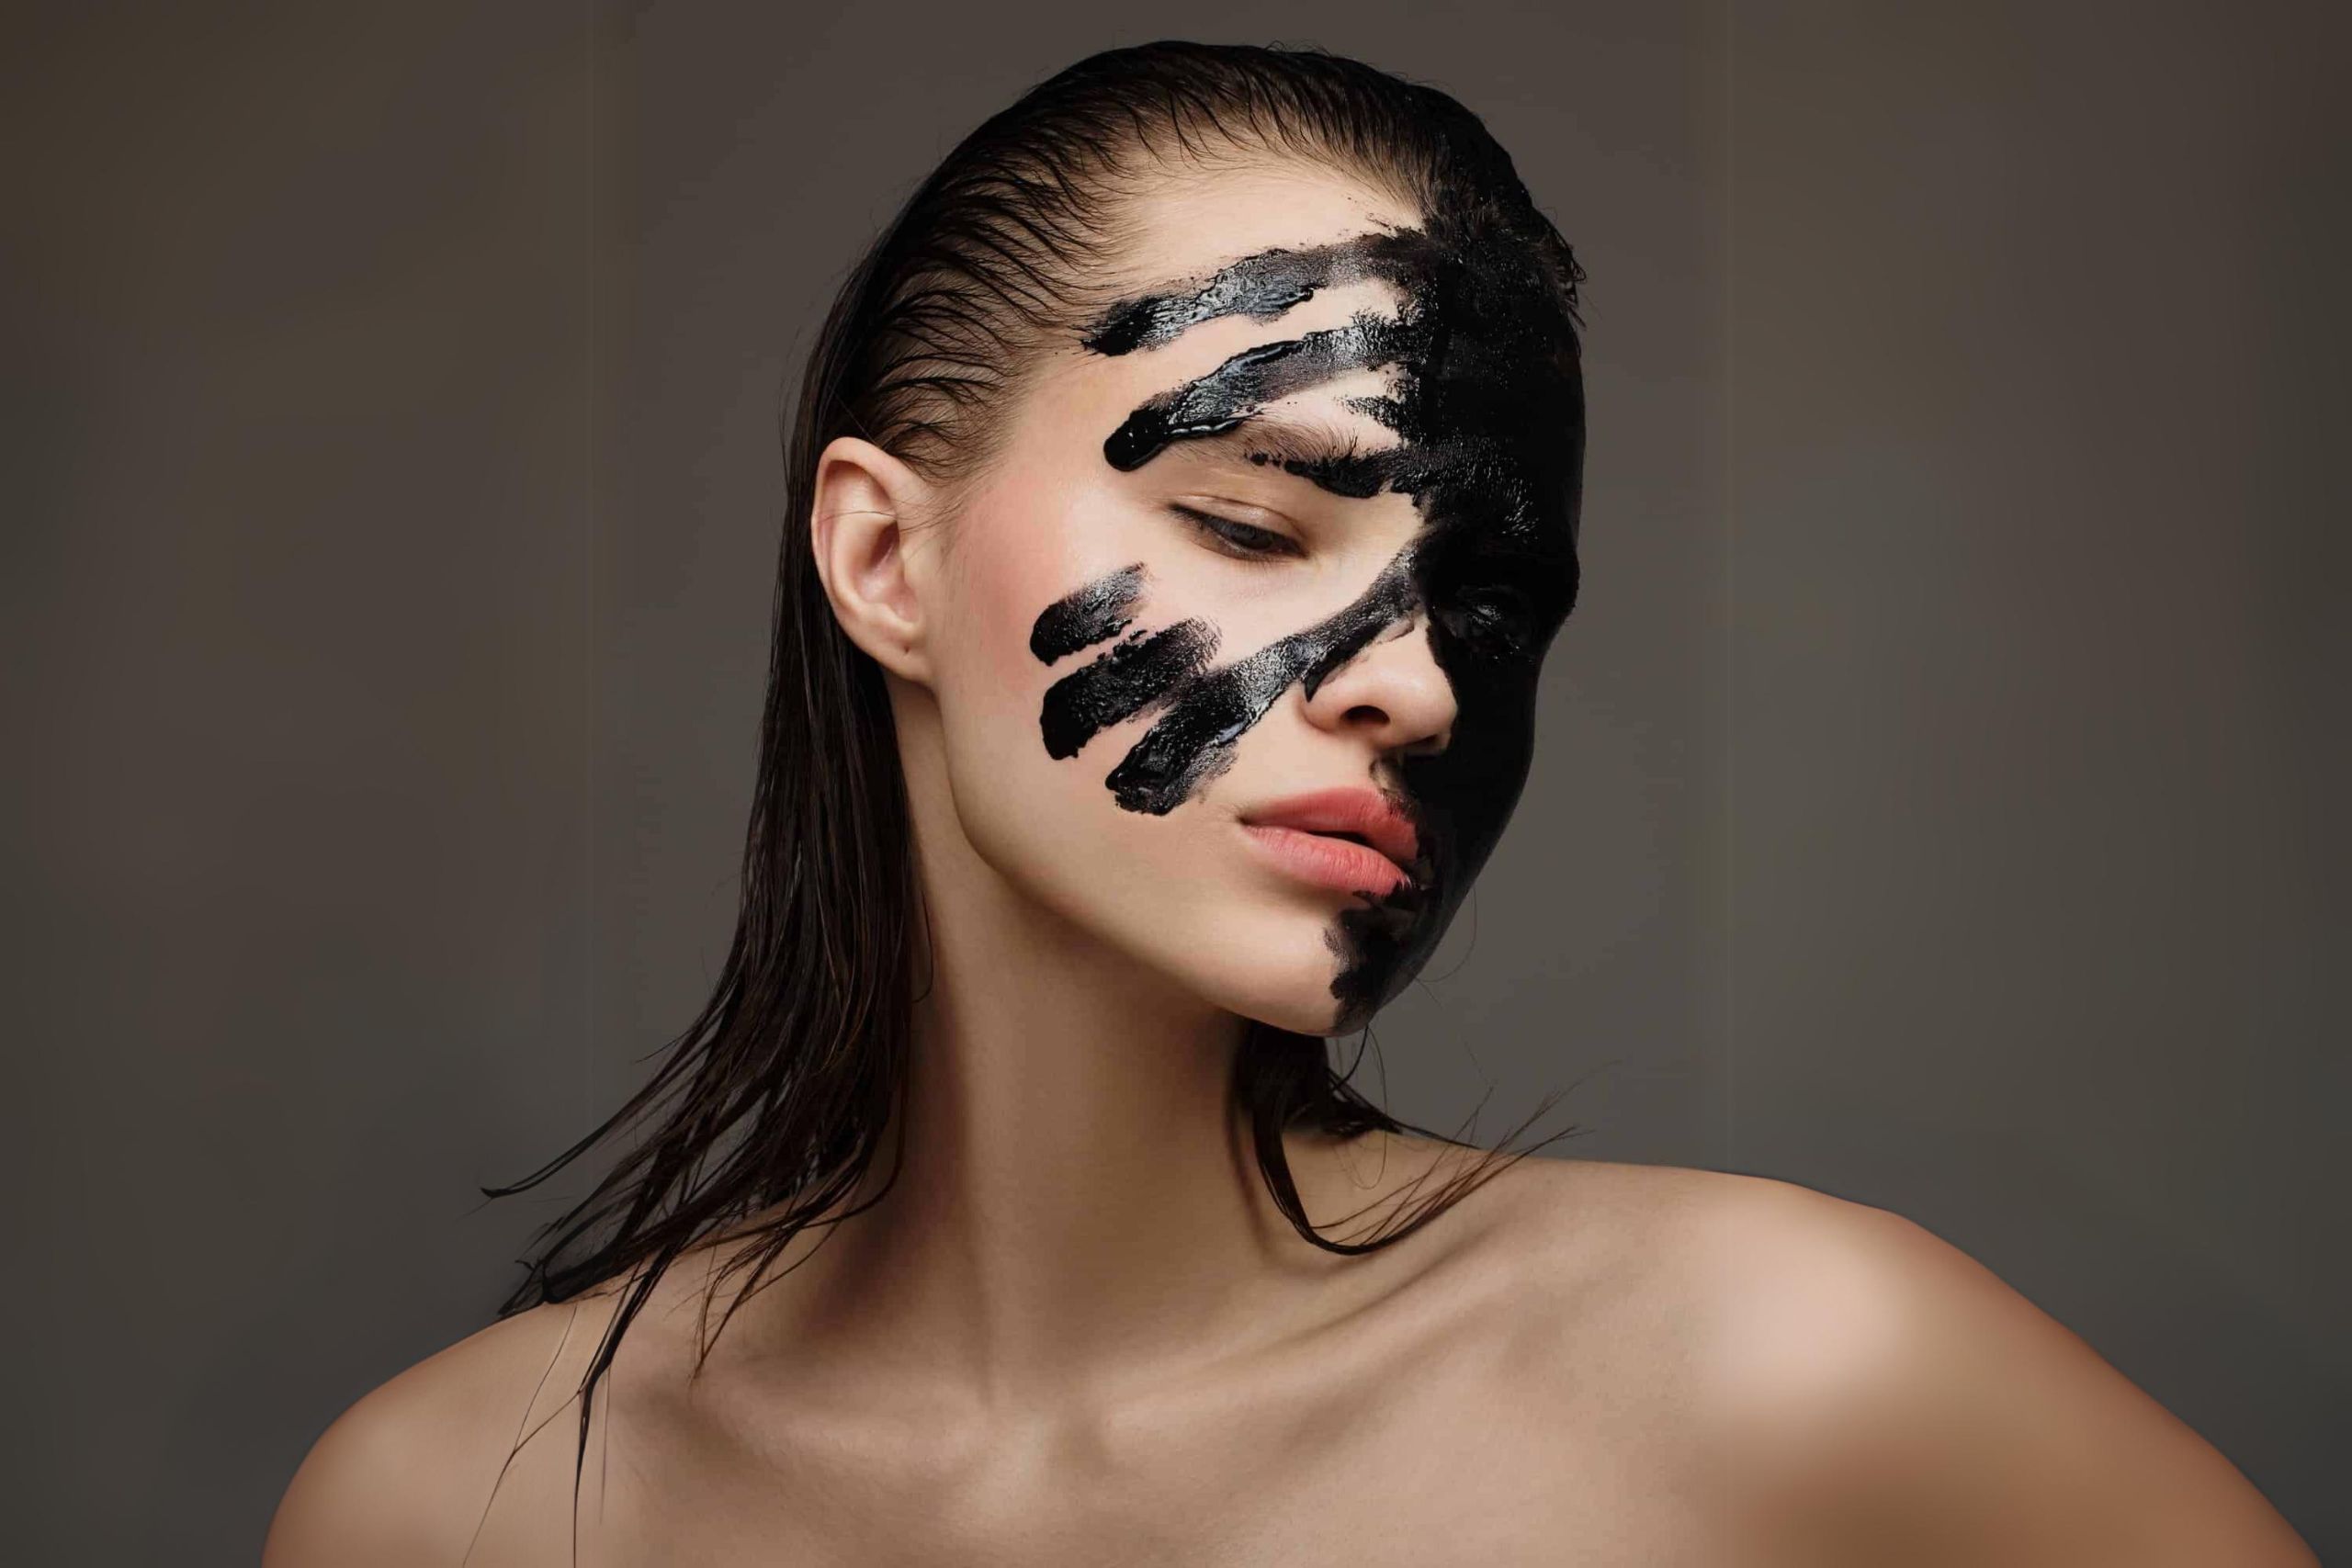
Light can be a deciding factor in how your photo is going to turn out. You can make the exact same shot with two different types of light and they will end up looking completely different. Light is responsible for outcomes such as mood, atmosphere, and tone. With the help of lighting, you can make the same image look warm and cozy or cold and sterile. Use this knowledge to your advantage when deciding what kind of atmosphere you’d like to recreate.
Types of light
There are 4 main types of light that you should be aware of. Understanding these categories will help you understand what kind of light you need to take the perfect shot and how you can obtain it.
Transmitted light
Transmitted light is light that’s coming directly from the source. You should be able to see the source of light in the photo. That’s applicable if you’re taking a picture of the sun, a candle, or a highway where cars are speeding with their high beams on.
Reflected light
Unlike transmitted light, reflected light doesn’t show us the source, although it can still be present in the photo. We know about the presence of reflected light when it reflects off the subject. As such, reflected light is probably the most common type of light that’s present in photography.
Hard light
Hard light has to come from a relatively small source of light to create a sharp shadow. Think a lit lightbulb or candles on a birthday cake. When done correctly, this type of light can do a great job of highlighting textures and casting sharp shadows.
Soft light
Soft light is quite literally the opposite of hard light. It is a large source of light relative to other objects in your photo. It creates a soft light that illuminates a larger area of the photo. The sun on a clear day is often a source of soft light when it affects the whole photograph.
If you’re having trouble understanding light and how to work with it, spend some time identifying different sources and types of light. For example, when you see the sun setting, what type of light is it? What about a flashlight shining directly at you? Do this exercise whenever you see a light source.
Source of light
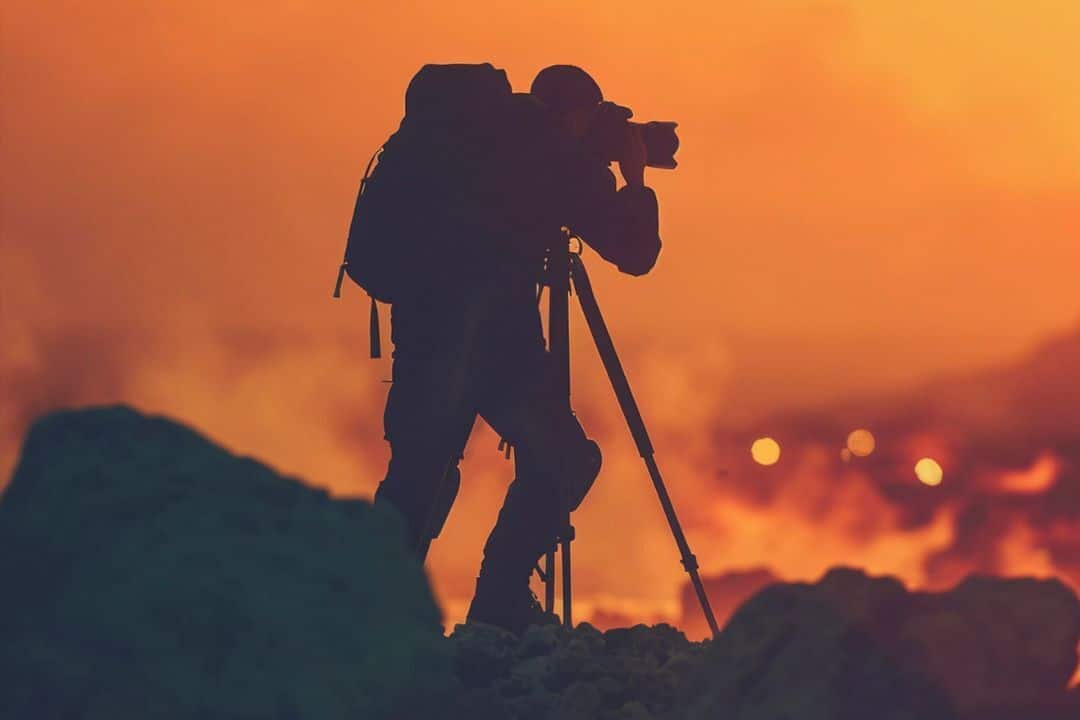
It’s not only about the quality and amount of light, but also where the light is coming from. As such, the positioning of your light source can change the outcome of the shoot. For instance, if you’ve placed your light source behind the camera, it is going to hit the subject head on, thus producing a very flat effect. Lighting coming from behind the subject can make the photo a lot more dramatic and interesting to look at, with shadows and silhouettes. Lighting sourced from the side will give you a lot more to work with in terms of shadows and lights.
Working with light
Whether you’re using real or artificial light, you can almost always work with it to achieve the outcome you’re looking for. Photography equipment such as diffusers and reflectors can force light to fall on the subject of the photograph, as well as anywhere else you’d like it to fall. With their help, you can make your subject the center of attention or introduce some shadow play into the photo. You can work with real sunlight, as well as artificial flash light.
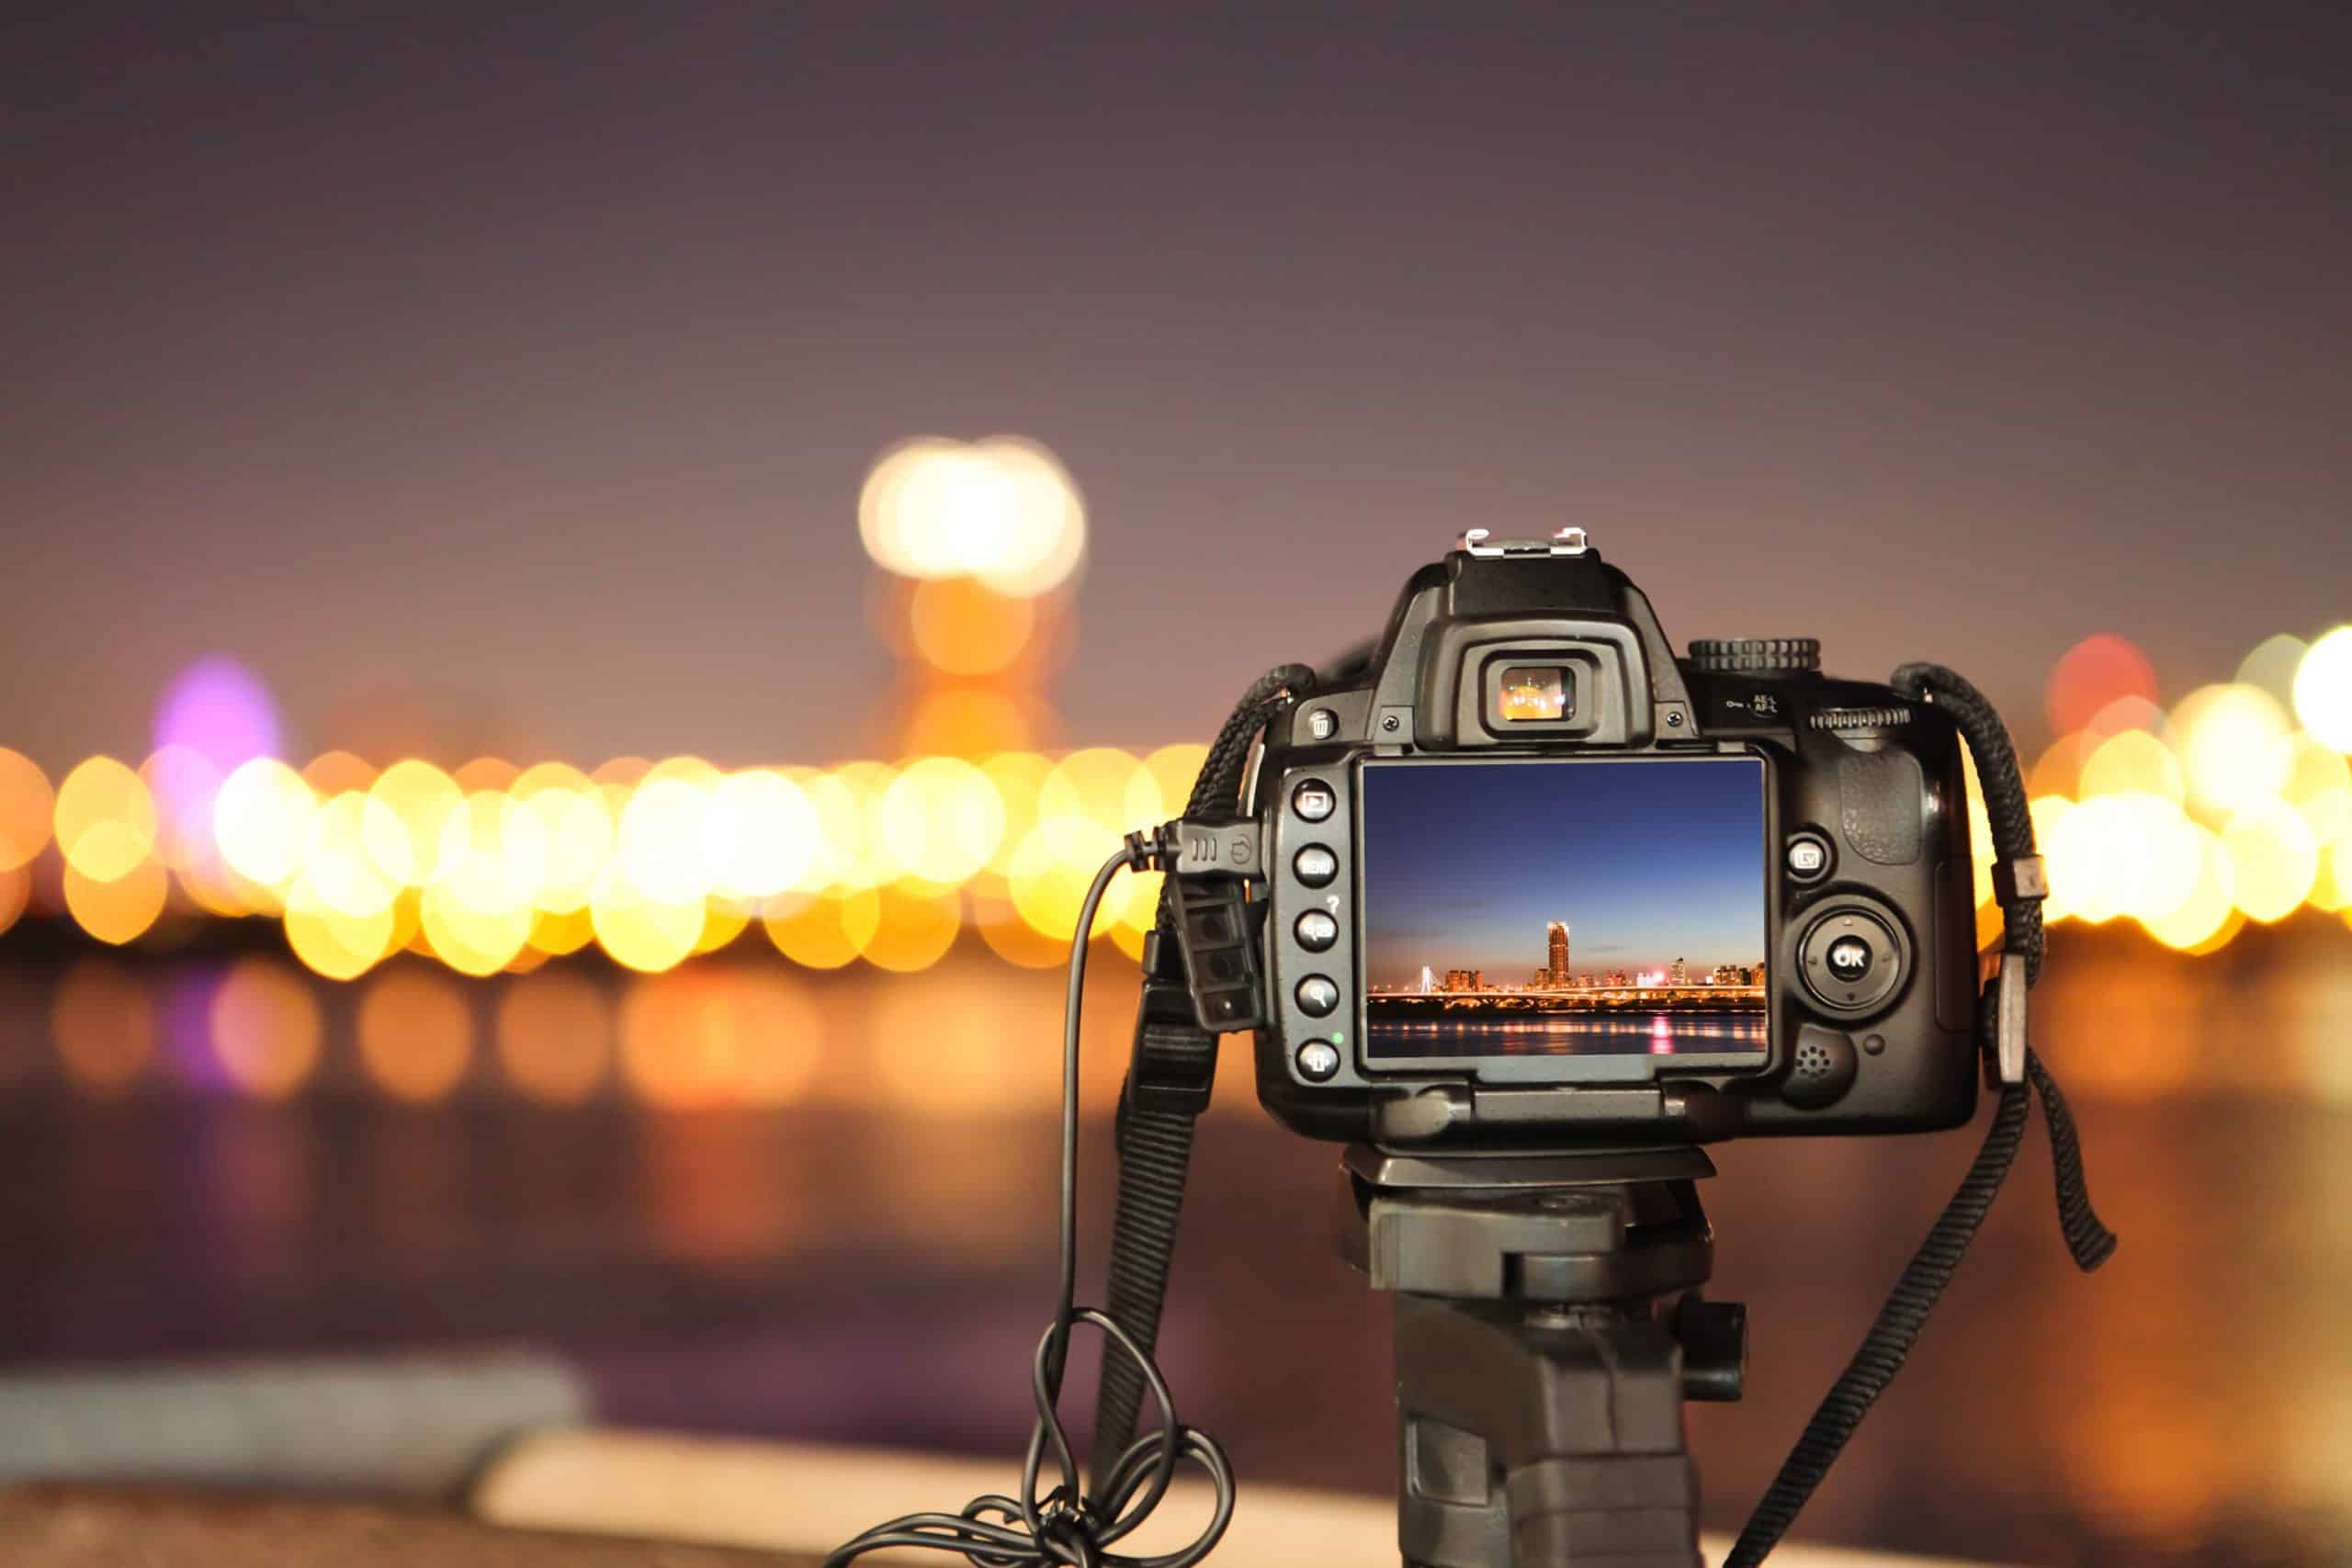
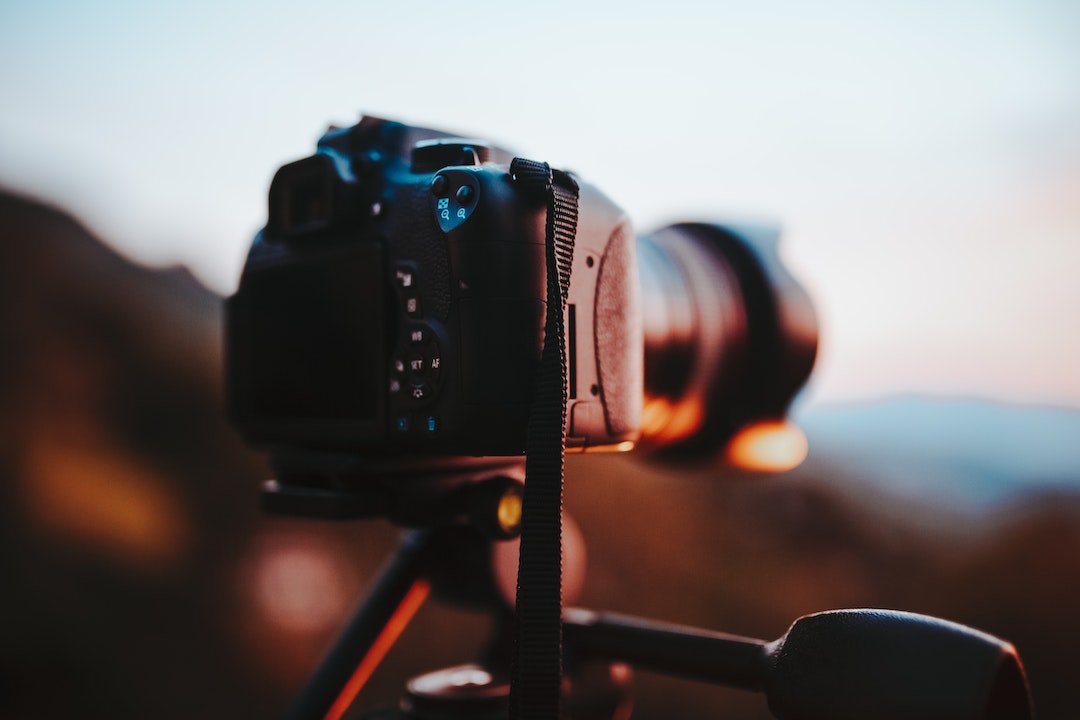
When you’re not using artificial light, you’re probably relying on natural light to illuminate the subject of the photo just right. You can’t always manipulate natural light as well as you can artificial light, but you can still find ways to work with it. The best way to do that is by planning your shoots ahead of time. The most famous example is the golden hour. You can take some of the most breathtaking portraits and candid shots during golden hour. If you need that beautiful, warm light in your photo, then you’ve got to shoot during sunset. You will only have a little bit of time to get the perfect shot, so make sure you know exactly what you’re doing.
Editing
The process doesn’t end with taking the right photo. Once you’ve put your camera away, you can take out your computer and begin editing. A really great photo might not need a ton of editing, but you can salvage an average photo with tools like Adobe Lightroom. With its help, you can change the tone of the photograph, increase or reduce the brightness, change the temperature, and so on. Whatever you didn’t get to do in the field you can now do on the computer. Don’t disregard this step, but don’t rely on it too much either. Do the work in the field and use editing tools for some finishing touches.
Conclusion
Whether you’re a professional photographer shooting events and landscapes, or finding the next Instagram-worthy shot on your iPhone camera, lighting is everything. With the help of lighting, you can convey the right mood, set the scene, and tie the whole photo together. Find your light and use photo editing tools to your advantage.